Whether it was Jimi Hendrix ripping through a solo with his strat behind his head, or Michael Hedges creating soundscapes on his acoustic with both hands on the neck, somewhere down the line somebody inspired you to pick up a guitar. As much as you wanted to, however, you likely weren’t able to immediately bust out the solo to “Red House” or play through “Aerial Boundaries”.
As with anything, learning to play the guitar should be approached with baby steps. You need to learn to walk before you can run, and in order to play like your heroes you’ll need a solid grasp on some fundamentals first.
While finger exercises, scales, and theory may be important, you can pick up a lot of technical know-how just by learning a few introductory level songs. The most important part is to find songs that aren’t too demanding, and are achievable with regular practise. Below I’ll list five techniques, and a good candidate of a song / riff you can learn to start getting used to them. Let’s start with the basics…
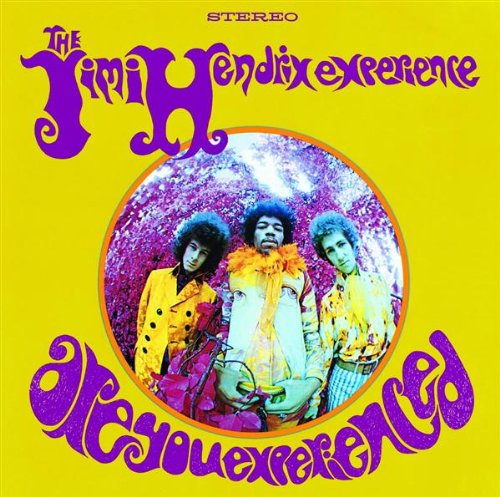
1. Chord Changes – “Hey Joe”, by Jimi Hendrix
One of the first obstacles you’ll be faced with when learning to play is memorizing chords, and figuring out how the heck you’re supposed to contort your fingers to switch between them. The truth is, these “shapes” that your fingers need to be placed in are not built into your DNA. There’s nothing else you’ve ever had to do that requires your hand, wrist, or fingers to hold such patterns, and as such you’ve got to work them into shape. The only way to teach yourself (and your hand) these chords is through repetition and practise; it’s all about muscle memory here.
The song “Hey Joe” is a great introductory to chord changes for a few different reasons. The first is that it forces you to learn five essential major chords, C, G, D, A, and E. The second is… it’s only five chords! The entire rhythm guitar section of the song is just a loop of these five chords in a relatively simple strumming pattern, so if you can manage the switches, then you’ve got it down. The third reason deals with the chords in question. Some chords are easier to switch between than others, allowing you to leave a finger or two in the same spot. Some chords allow you to play all six strings, while others demand that you avoid a string or two. Some chords require the use of one finger to hold down multiple strings… and the list goes on. In “Hey Joe”, each chord is far enough apart from each other that you are required to make a substantial shape change, getting your hand used to arriving at and leaving each chord. It also exercises your strumming hand, as you’re required to play all six strings for a couple of the chords, and only some of the strings for the others. If you can play through this tune, then you’re well on your way to saying goodbye to your chord changing woes.
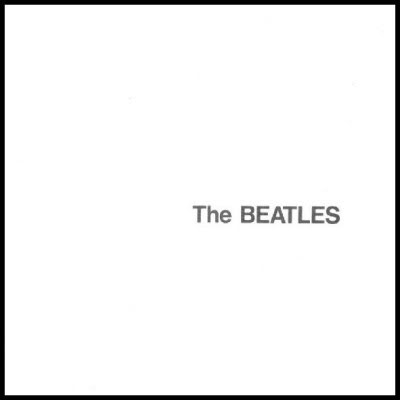
2. Fingerpicking – “Blackbird”, by The Beatles
If you’ve spent most of your practise time strumming chords, or plucking out melodies with your pick, learning to fingerpick might be a daunting task at first. This technique is, of course, all about your picking hand, and getting your fingers used to where your strings are. What I mean by that is, at first you will likely be looking down at your picking hand, making sure you use the “right” finger on the “right” string, etc. The more you practise, the more you will just get accustomed to the distance between each string, as well as various patterns that tend to appear in songs. This is part of the reason I like “Blackbird” for an introductory to this technique.
As far as the right hand is concerned, the song revolves around just two patterns. Try this: hold a G chord, and with your thumb and middle finger pluck the low E string and the open B string together at the same time. Then pluck the open G string on its own with your first finger. Repeat these over and over… and you’ve essentially got the picking hand pattern used for half of the song. Of course… your thumb will occasionally move to the A or D string, but you can worry about that later. A large portion of this song is about getting used to moving back and forth between your index finger and second finger, while maintaining a bass-line with your thumb…which is sort of the whole idea behind fingerpicking! It’s a great way to practise, while playing through a great song.
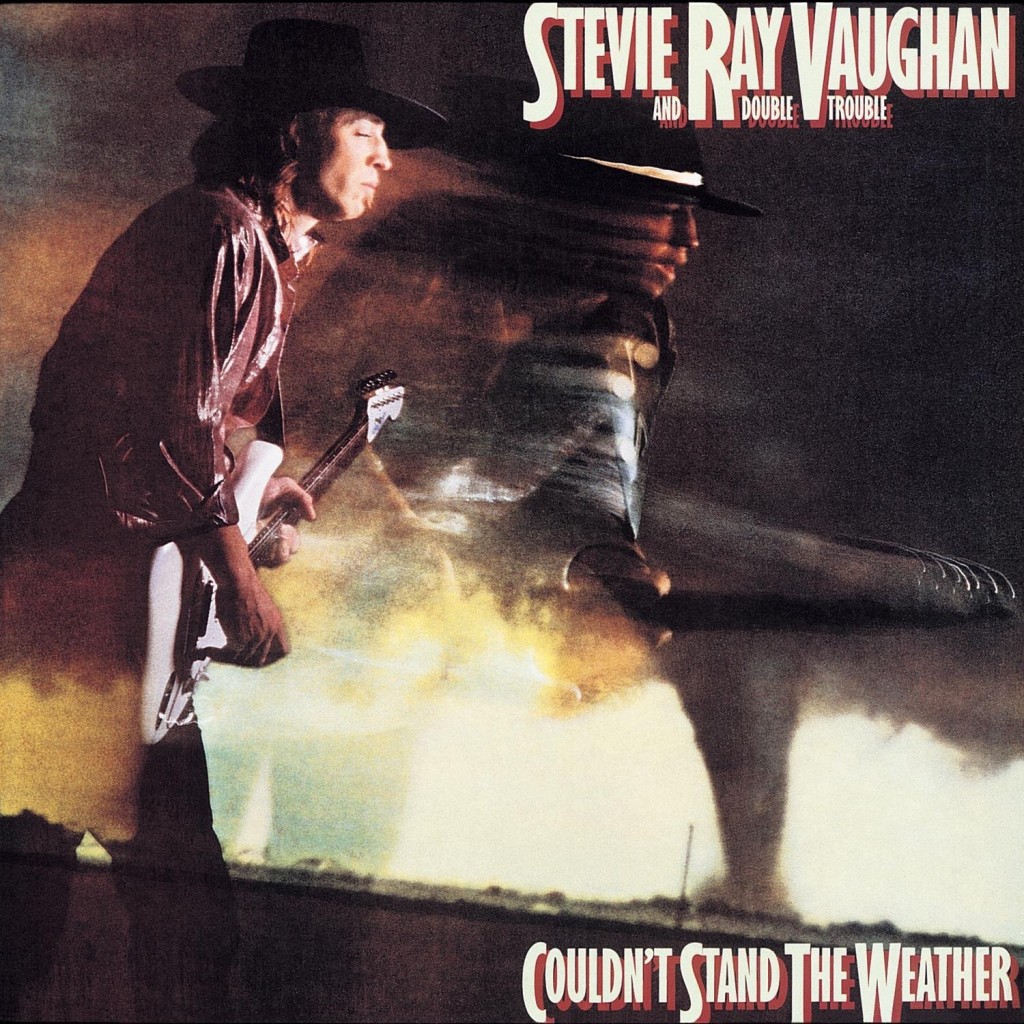
3. Counting / Rhythm – “Couldn’t Stand the Weather” by Stevie Ray Vaughan
The most important thing in playing a musical instrument is rhythm. Whether you’re playing on your own, or as part of a group, you need to be able to keep time. Some patterns are easy of course, just strumming along in 4/4 time, but if you really want to challenge yourself and start to unlock your “inner metronome”, you’ll need to try out some more complex patterns. Try to test yourself – whenever you play, keep your foot tapping along to the beat of whatever it is you’re playing. The opening riff in “Couldn’t Stand the Weather” is a good challenge for this – it combines a relatively simple melodic riff with a syncopated sort of rhythm. It contains various notes and rests that land both on and off the beat, making for an unexpected feel. With a stronger sense of rhythm and larger vocabulary of patterns, you will find it much easier both locking into a groove as well as coming up with your own ideas.
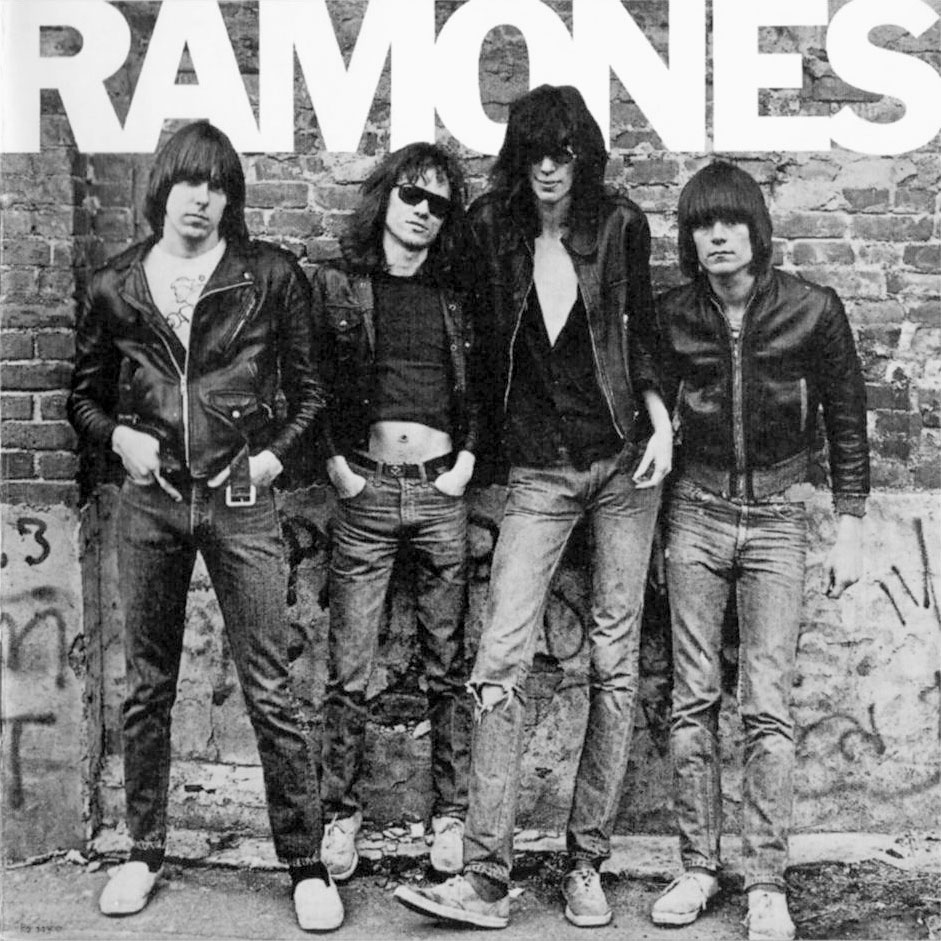
4. Power Chords – “Blitzkrieg Bop” by the Ramones
A power chord is just two notes of a chord played at the same time; the root, and the fifth. Doing so means that you don’t need to worry whether or not the chord in question is supposed to be major or minor, as both would have the same root and fifth anyways. You can incorporate the octave as well, as it doesn’t make things much more difficult, and adds a nice upper layer to the sound of the chord.
More often than not, you will find yourself playing power chords with their root note on either the low E string or the A string. Thanks to the way the guitar neck works, this means that the shape of these chords will never change.
For example, plant your first finger on the low E string of the fifth fret. Now plant your third finger on the A string of the seventh fret. You are now holding an “A5” power chord! Want to add the octave? Just throw your pinky down on the D string of the seventh fret, below your third finger.
But what good would knowing how to play power chords be without knowing how to play some raw, straight to the point punk tunes to go with them? While they may not have invented them, the Ramones’ sound encapsulates everything that the “power” chord exists for; straight to the point, loud, and fast!
The song “Blitzkrieg Bop” will get you used to holding the power chord shape, as well as moving up and down the neck to play each chord. You’ll also have to jump between the E and A as your root note, which is important to become accustomed to.
In addition to this fretting hand technique, the strumming you’ll be doing with your other hand is just as important. You’re only playing two or three strings here, so of course you don’t want to hear the others. At first it will be easier to just limit yourself, and play only the strings you are holding in the chord. In this way, however, you’ll soon realize that you can’t quite capture the same power and energy that Johnny Ramone did. So how do you fix that?
Muting. Being able to mute strings properly with your left hand is what will bring your power chord strumming to the next level. It’s sort of hard to put it into text, but whilst you hold down that A5 power chord, try to also lightly lie your first finger down across all the strings below (like you’re playing a barre chord). Doing this means that it doesn’t matter how many strings you hit – the only ones that will ring are the ones you want to hear. THIS is how you get the “power” out of your power chords – pure aggression with the strumming hand, and precision / articulation with the fretting hand.
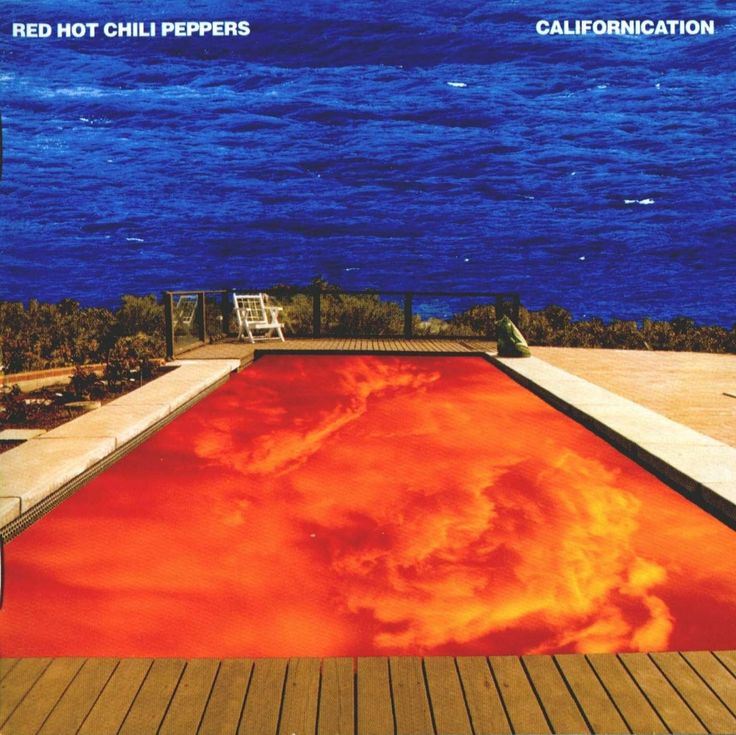
5. Soloing – “Californication” by The Red Hot Chili Peppers
Playing a guitar solo is a culmination of things. It’s not just “playing a bunch of notes really fast”, but should be thought of moreso as the guitarists’ turn to takeover for the vocalist, and front the song. With that in mind, the way in which you approach your solo should be derived directly from the vibe of the song you are playing to. This means that you need to take everything into consideration – the chords used, the melody, the rhythm, the feel… the perfect solo is one that touches on all of these things, while throwing in bits of technique for flavour.
One way you can start to understand how to play a strong solo is to listen to guitar solos that you find to be memorable, and figure out what it is that they’ve done. Listen to the section as a whole, and try to emulate it. A good starter would be the solo in “Californication”. It isn’t blazing fast, but it is subtle and captures the essence of the song very well. You’ll pick up on a few techniques here and there throughout the solo, and start to be able to hear the difference between, for example, a bend and a slide, or a hammer-on and a picked note. It is also done in a clean tone, which means you are forced to nail the performance when you play it. Extremely over-driven amps have a tendency of “covering up” mistakes made when playing, so practising with a clean tone is a good way to truly hear what you’re putting into the guitar.

I’m sucking up everything I can. Haven’t played much at all since I was 30-34. Now 60 I do appreciate seeing lessons from here. As I stop by here at least once a month, it’s just another reason to stop by!
Thanks,
Leo